Battling to love Tuiles


 I am listening to "April In Paris" by Ella Fitzgerald and Louis Armstrong on Pandora. I wish you could hear the song. It's so pretty.

It's not April and I am not in Paris but, tuiles are a lovely french, airy, and crunchy cookie. I have absolutely fallen in love with them but, I hate them! ...it's weird, I know. It's because they are a bit difficult to master and can be tricky if you don"t have all the tools you need to make the process easier.

I spent a day three days trying to figure out and experiment with these things. Whipping up the "tuile paste" is the easy part. The hard part is figuring out your cookie templates, gathering the right tools, and trying to master shaping the cookies how you want them when they come out of the oven because they are delicate, HOT and you gotta do it fast before they cool too much and harden.
Chili Aioli tuile with Gruyere and Cheddar cheese, sprinkled with herbs and sesame seeds)
 I was also frustrated that there weren't enough "sources" out there on how to navigate my way through the process. I needed videos and step by step pictures to help me and see how the templates were created and how to use them etc. In this post I will try my best to make it easier for YOU if you decide to make these-because it is really worth it. THEY ARE ADDICTIVE, DELICIOUS, and you can make so many different flavors and designs.

First watch this video and then come back to me:

How-to video from Martha Stuart on Tuile

Okay, doneNow go here and print Martha's templates ( Circle and Flower) or draw your own shapes on a piece of paper. Set aside. You can also find plastic templates that could work for this at your craft store.

Second
Get your tools together. Invest in a Silpat, if you haven't already. I got one for $20.00. The reason I say this is because you can use it for many things and will get a lot of use out of it for baking, freezing and whatever. It's a nonstick baking mat. Also get an offset spatula if you don't have one already.
 If you are making your own templates...go out and buy a couple plastic school folders that have a see-through qualify to them, and a good exacto knife.
Cut the plastic folder into two flat sheets.
-Then transfer by tracing your shapes from the piece of paper to the plastic sheets.
-Then cut out your shapes from the plastic with an exacto knife and punch and toss the actual shape you cute out. What you want is the plastic sheet with a the shaped holes.
-Wash your templates with hot soapy water, dry them and set them flat on your silpat.
 -Taking your offset spatula spread your tuile paste in the hole as even as your can right up to the edges. make any designs you want before you lift the template.

 -Then lift your template sheet and you will have your perfectly shaped tuile paste ready to be baked.
I made up a main batch and then split them to make different flavors. I added a table spoon or so of whatever kind of flavoring.  For example add a tbs cocoa powder, grated ginger or ground dry ginger, chili aioli/mayo. For the savory ones, I cut the sugar in the recipe in half.
  
I also suggest you puree the flavor or herb with your sugar or use liquid flavor. You do not want large bits of things in your paste because it will make it difficult to spread evenly in the template. It is pretty to have sprinkled things on top of the cookies just wait to sprinkle stuff on top until after is is spread on the silpat with your template and ready to bake.

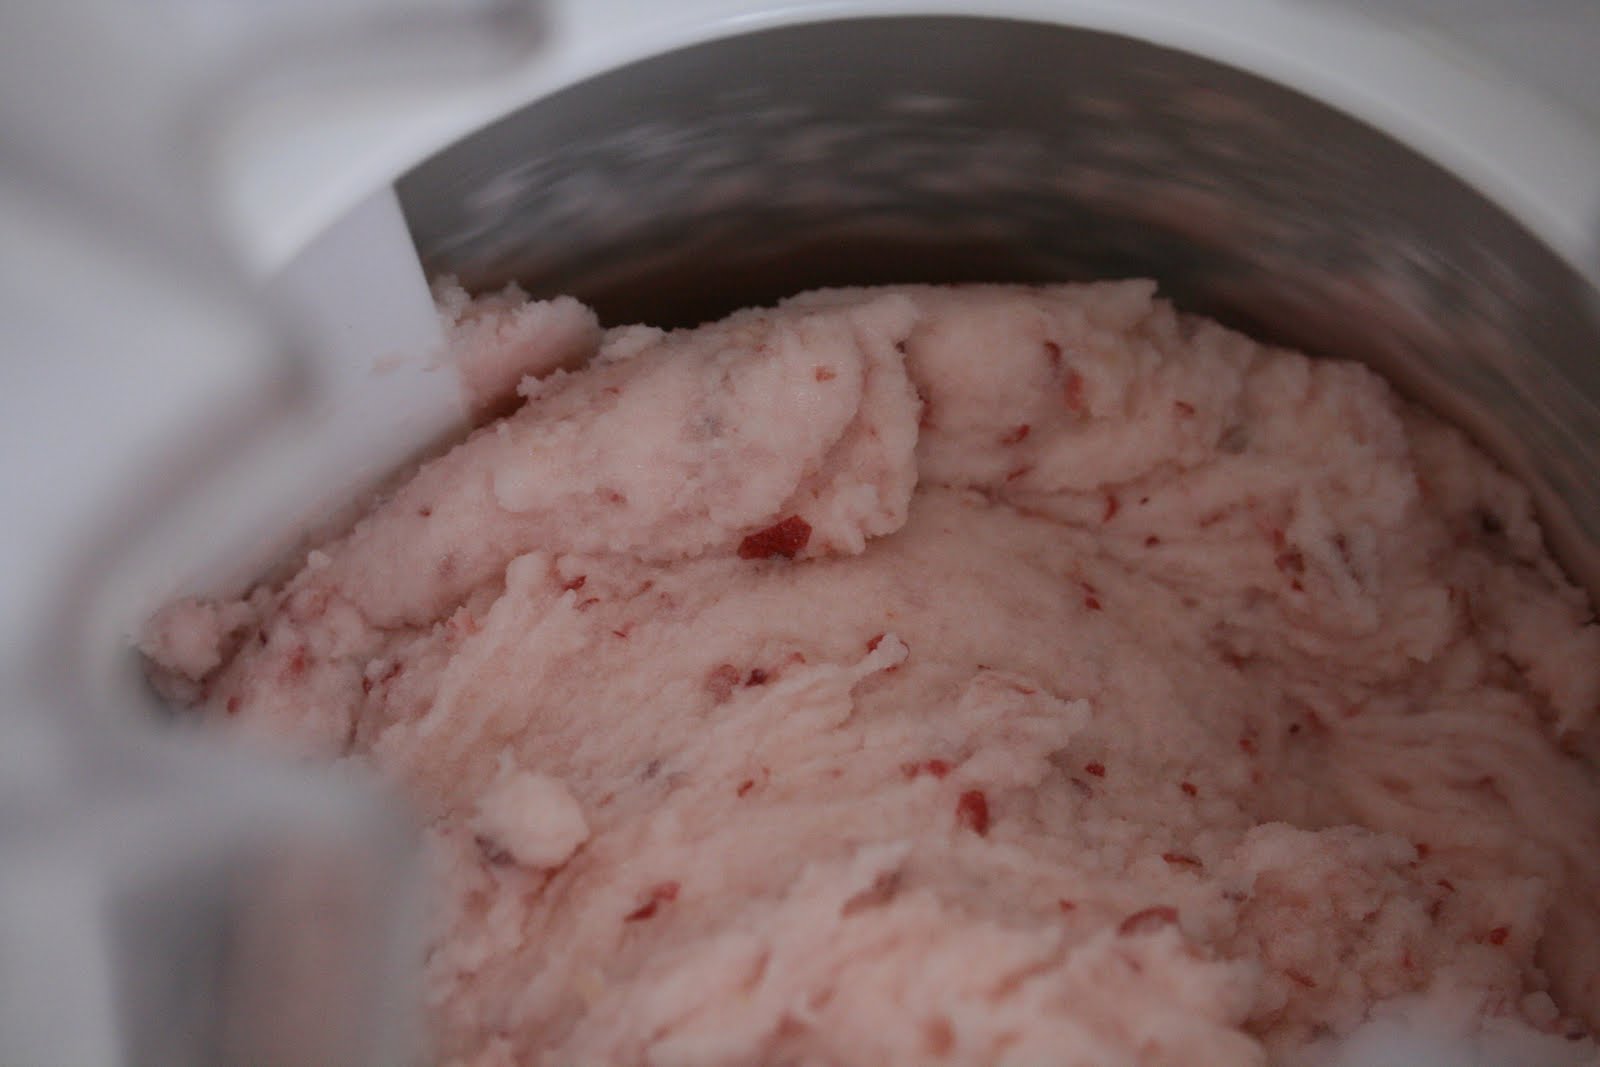
Vanilla bean and lime paste
Ginger and lime, and chocolate paste
Lime and herb, and chili aioli and herb paste
 BasicTuile Recipe
3.5 Tbs butter, room temp
1/2 cup sugar
1 tsp finely grated lemon or lime zest
1 tsp vanilla paste
2 large egg whites
1/2 cup flour
-Cream butter, sugar, vanilla, and zest
-Add the flour and mix.
-Add eggs whites and mix well.
-Transfer paste in a smaller bowl or container and store in fridge until  ready to use. You can store the paste in your freezer for up to a week.
-Bake at 325 or 350 degrees for 7 minutes or so.
-Take out of the oven and shape them right away.
-Store the bakes cookies in an airtight container for a week to two weeks.
(Lime and Vanilla bean with Chocolate stripes poppy seeds sprinkled on the one in the back)

I'll leave you with a photo of buddy being a good boy in the bathtub.
THE END!
Hey Everyone! I hope you are having a Delightful Friday!

Remember when I made this:

Yeah! the homemade Blueberry Whiskey Ice Cream  from Eagle Brand condensed milk.
Well, I had entered it into a contest and you can now vote for ME OR YOUR FAVORITE ice cream entry by clicking on these words. The voting ends Tuesday, August 31, 2010.

Thanks and have a Really wonderful Weekend!
Sorbetto SCOOP!:
 White Peach
Hi everyone! HOW'S YOUR SUMMER GOING SO FAR?
Mine hasn't really felt like a summer because the hot weather is just finally kicking in for us here in California and who knows if will stay. I am trying to fake it with summary ingredients in the kitchen. A few weeks ago, I was completely inspired by this one article I read on David Lebovit's blog about "Tasting Rome". He toured a gelateria behind the scenes while they made a white peach sorbet. YUM! I guess they just pureed the local peaches with sugar and then simply tossed it in the "ice cream maker". David's picture of the sorbet is amazing, it almost looks like peach mayonnaise or something *hey there's a good idea?*.
Anyway, I tried to reproduce the peachy dream as best I could. It turned out very delicious and refreshing but, most likely not as good as what was made in ITALY! Haha.  See, mine looks more icey and theirs was very creamy, like butter. You should check out the picture, it's in the middle of the post somewhere. How did they do it?
Here's the recipe if you want to give it try:
 Peach Sorbetto:
3 White Peaches (from the Hollywood Farmer's market)
1/4 cup organic cane sugar
2 tbs lime juice
2 tbs light corn syrup (to prevent from hardening too much in freezer?)
2 tbs heavy cream

-Cut peaches in slices with skins
 -Puree half the peach slices with lime juice and pour into a mixing bowl. set aside.
 -Puree the rest of the peach slices with the heavy cream and pour into the mixing bowl with the other pureed peaches. whisk together.
-Pour into your ice cream maker for 30 minutes.
 -Eat right away or store in fridge for an hour or so. The sorbetto will harden overnight but not too bad.
The END! Have a *SUN-KISSED* peachy day!
Listening to music while I write again: Morcheeba "The Sea"
THIS IS SOOOOO FUN!
I sooo would love to be in or do a video LIIIKE this!


BabyCakes NYC: Frosting Party! from BabyCakes NYC on Vimeo.

Posting soon: A Fresh and summary White Peach Sorbetto. :)
PEACHY Margarita


Relaxing to Carmen McRae's "Ain't Misbehavin'" via Pandora

Here's my recipe for a quick weekend refresher-Now remember you can sub whatever you happen to have on hand some of the ingredients are optional here, and it's open for your creativity. GO WILD!

PEACH MARGARITA RECIPE:
x 1-2 shots Jose Cuervo's tequila blanco, or use whatever kind YOU like best
x Jose Cuervo 's Classic Margarita Mix, or again you fav margarita mix-just added for a little extra flavor but not necessary.
x Frozen raspberries or fresh
x Peach lemonade or mix half lemonade and peach juice (Welch's has a peach-grape that's really good)
(Got this lemonade on sale for 2.99 at Whole Foods. They make all kinds of other yummy flavors too.)

x Ice cubes
x Margarita rim salt
x Lemon rim sugar
x Dry tea leaves from a peach tea bag
 -On a small plate mix salt, sugar, and tea leaves.
-Wet the rim of your glasses with a lime and dip the rim of your glasses in the sugar/salt/tea leave mix
 -Pour tequila in glass and a few rasperries, smush and swirl around
-Then toss in 4-5 ice cubes
-Pour peach lemonade filling the glass to 3/4 (3 parts)
-Then pour Jose Cuervo Margarita Mix to the top (1 part)
-Mix with a straw and...Viola. Enjoy with the ones you love *HEART*
THE END!
Chocolate Buttermilk Cupcakes with Raspberries
These Cupcakes turned out really good and were very, very simple to make so I thought I would share them with you real quick.
So, a while back a sweet co-worker of mine gave me this awesome book, The Artful Cupcake. There are a lot of crazy-complicated cupcakes in this book and I will most likely never make all of them. But, while browsing through it for inspiration the other night, I found this manageable base-recipe for chocolate buttermilk cupcakes and a pretty frosting design idea. I happened to have a lot of buttermilk left over from my red velvet cheesecakes and a bag of Trader Joe's frozen raspberries. Crazy how it all falls into place sometimes.

Here's my adapted recipe:
Chocolate Buttermilk and Raspberry Cupcakes
(I was able to make 18 regular size cupcakes)
1/ 2/3 cup AP flour
1 Tsp baking soda
1/2 Tsp salt
1/2 cup cocoa powder
3/4 sugar
1 cup buttermilk (This time I did use the real thing but, if you don't have it, let 1 cup regular milk sit with a couple tablespoons of lemon juice for 10 mins.)
1 egg
1/2 cup veggie oil
3 tbs vanilla extract
1 cup fresh or frozen raspberries
Lavender sugar *optional*
 Cupcake Fun:
-Preheat oven to 350 and line your cupcake pan with pretty cupcake liners.
-Lightly break up the raspberries and toss with 1 tsp lavender sugar. Set aside.
-Sift flour, baking soda, salt, cocoa powder, and sugar together and whisk until completely mixed.
-Then add the buttermilk, veggie oil, and vanilla and blend well with an electric mixer.
-Fill cupcake liners about half way. Sprinkle raspberries into the batter and with a spoon lightly push them into the batter.
-Bake for about 20 minutes or until a toothpick comes clean when stuck in the middle.
-Let cool before frosting.

Raspberry Cream Cheese Frosting
1 8 oz package cream cheese, room temp
1 stick butter, room temp
1/2 cup plain Greek yogurt
1/2 to 3/4 cup powdered sugar, sifted (or not)
1 tbs vanilla extract
2 tsp vanilla bean paste (for specks)
1/4 cup raspberry puree
 Frosting Fun:
-Cream butter and cream cheese until smooth.
-Add yogurt, sugar, vanillas, and raspberry puree
-Whip until creamy and light.

Chocolate Stripes:
5-6 tbs semi sweet chocolate chips
2 tbs butter
1 tbs light corn syrup (optional)
Chocolate Fun:
-Melt chocolate and butter in a glass bowl over a pot of 1 cup simmering water.
-Once chocolate and butter is melted, mix with a spatula until smooth and take off heat.
-Mix in corn syrup
-Let cool  for about 7 minutes and then fill a pastry bag with the chocolate and cut a small tip from the bag or use a small round piping tip. Pipe decorative stripes with the chocolate onto the frosted cupcakes.

 Now back to battling tuiles.
THE END!
Whiskey and Blueberry Ice Cream
I made this ice cream to enjoy with my hubby tonight AND also for the Eagle Brand Ice Cream Recipe Contest over at Scoopalicious
The contest ends Wednesday, August 11th so you still have time to enter! It's fun, you should totally do it! :)
I started out wanting to make just blueberry ice cream with lemon but when I saw the bottle of whiskey on the counter, I decided to give it a shot.
Why did we have a bottle of whiskey? You may wonder. Well, we are hard drinkers and love us some whiskey! No, um... I actually have been sick with a terrible cold and finally decided that a hot toddy would cure me. So Sean looked up the recipe, went out and got the ingredients and made me a Hot Toddy before bed. Boy did it conk me out, that's for sure.  
Anyway, this ice cream was super easy and really very, very good. I thought it would be tougher w/o the ice cream maker but it almost seemed easier. I think I may use this condensed milk for my ice cream more often, it gives it a good creamy-ness that isn't too thick. I also like this recipe because it can be very versatile as you can substitute any fruit in place of my blueberries. And any liquor** you want, Perhaps Chambord or Grand Marinier?

My Recipe
Ingredients:
2 cups blueberries
2 1/2 shots whiskey
4 tbs honey
3 tbs lemon juice
1 14 oz can Eagle Brand Condensed milk
1/2 cup heavy cream
1/2 cup rice milk or a low-fat milk
Steps:
1. Prepare a square cake pan that can fit in your freezer, line with plastic wrap and set aside.
1. Heat blueberries, honey, lemon juice, and whiskey for about 5 minutes on medium heat. Then let cool.
2. Pour blueberry mix into blender
3. Add Condensed milk, heavy cream, and rice milk
4. Puree all ingredients in blender.
 5. Then pour into a the plastic lined cake pan and cover with plastic wrap. *Freeze.

*I froze the mix for 24 hours and the ice cream stayed soft, it must be the condensed milk. huh. OR maybe it was the **whiskey?
UPDATE: After a week, this ice cream still kept it's nice soft ice cream texture.
-Then Serve when ready. I made the ice cream cones as well and will share in another post.
If you try the recipe please let me know how it works out for you.
THE END!
Oh...Check out these Whiskey Cupcakes posted over at Cake Spy.
 P.S. Buddy says, Hello. :)
Mini Red Velvet Cheesecake
 
Red velvet, red velvet, red velvet! Yep, we all know red velvet is "in" with all the haute bakery couture these days. Actually, when I think back, red velvet has been pretty popular for at least 5 years now, AT LEAST. I mean, it has always been apart of the deep south dessert family but, it has now become a "trendy" thing spreading world wide. Do you think the fad is dying down though? I am not so good at predicting these things but, I do know I am seeing it everywhere and more than ever. People are still oooohing, ahhhhhing, and drooling when the words redddd vvvvelvet slips from their lips."What cupcake should I get? Chocolate or Vanilla......oooooohhhhh, they have redddd vvvvelvettt!. THAT'S WHAT I AM GETTING! It's perfect."

Trendy cupcakeries, cafes, fine restaurants, and sweet bakery shops are featuring this rich, vibrant, red dessert in all forms. New York City's, Magnolia Bakery has a red velvet cheesecake, cupcake, AND cake slice that they serve.

Just a little side note/tangent: Magnolia Bakery has been credited for starting the cupcake craze, if you didn't already know this, and has just opened a shop in Los Angeles on 3rd and Orlando Avenue, a block away from where I work! AND, actually, just a block away from the well-established and beloved Joan's on Third *which I LOOOOVE* and strongly recommend you go and check out if you haven't. They have all kinds of delicious food, and sweets. Anyway, Magnolia Bakery opened up at the beginning of August for about 5 days and then had to close down temporarily because they didn't have all the proper licensing or something. I hope they open back up soon.

Getting back to Red Velvet, Yoplait has a RV flavor...

 ...Yogurt Land featured a red velvet cake batter froyo flavor earlier in the summer that was absolutely delicious!

I am also seeing A LOT of red velvet cake versions of other up-and-coming tends like "whoopi pies"/"moon pies" and cake/cheesecake pops.

And of course, it goes without saying, there are tons of red velvet cupcakes. I mean, you are pretty much not a cupcake shop if you do not have a red velvet creation. What crazy red velvet stuff have you seen?

I have do not see a lot of ice cream, sorbet, or gelato RV flavors though. Wouldn't a gelato be beautiful! Sean and I have been on a gelato kick lately. My favorite is the pure white lemon gelatos but, watermelon is pretty good. And I just tried a chocolate gelato this weekend that was out of this world.

I guess that's enough for now. I will bring more Red velvet soon. I am working on a healthy red velvet cake recipe and I really want to try making an ice cream flavor.

THE PICTURES:
Out of the oven and chilled


Awaiting chocolate, no cracks!


Dripping with chocolate


Serving


Eating


Half eaten


and more eating


THE RECIPE
Chocolatey Crust:
1 1/4 cup oreo cookie crumbs
 1/4 cup melted butter
-Toss in 2-3 whole cookies with filling and then the rest of them, scrape the filling off and toss in the food processor or blender. Blend until you have fine crumbs.
-Whisk in 1/4 cup melted butter. It will seem like you should add more butter but, don't because it may result in your crust being harder and more compact which is harder to cut through with a fork.
-Press 1/4 cup of the mix in 6 larger 8" ramekins and press down firmly but, again, don't pack the crust too much so it ends up too hard.

TIP: Read your recipes all the way through before attempting them, this way you get the full picture. Sometimes you need ingredients or baking supplies that are in the descriptions and not necessarily listed with the ingredients. This is one of those recipes that you want to understand fully before attempting and being successful in from start to finish.

Cheesecake Fun:
1 1/2 of 8oz packs cream cheese at room temp
3/4 cup organic cane sugar
-Cream top two ingredients until creamy and fluffified.
-Add in eggs one at a time, beating lightly.
2 eggs, room temp
-Add in all the remaining below ingredients and mix well but be careful not to over-beat for the egg's sake.
1 tbs vanilla extract
1/4 tsp vanilla powder
2-3 tbs unsweetened cocoa powder, sifted
1/4 cup real buttermilk (It makes it a difference but if you really need to sub it-let milk sit with 2 tbs lemon juice of distilled white vinegar for about 7 mins)
1/2 cup sour cream, room temp
1/2 a 1oz bottle of Wilton's red gel food coloring or 1 bottle of liquid food coloring. I used gel and the gel taste came through in an after-taste in the cake. Not really bad just enough for me not to use it next time.

-Scrape sides of bowl and bottom and mix or a couple more seconds.
-Pour batter evenly in the 6 ramekins.
-Bake at 325 for 10 minutes, then reduce heat to 300 and bake for 30 minutes (for minis) and about and hour or slightly longer for a 9".
-To test for doneness, shake the pan gently-the very center of the cake should jiggle just slightly. If your cheesecake is done, turn off the oven and let sit for another 25 minutes to prevent cracks and imperfections due to temperature-change shocks.
-Then take out of oven and carefully remove from the water bath. Pour out the water from the pan and place the cheesecakes back in the empty pan lined with foil.
-Let cool to room temp.
-Then chill in fridge at least 8 hours.
-Carefully remove from ramekins or springform pan.

Note on using ramekins:
This is the first time I used ramekins for cheesecake. I wasn't sure if I would be able to get them out alive after baking. I buttered them first, and placed a strip of parchment paper sticking out on each side(as you see in my picture above). Then I place a circle of buttered parchment paper in bottom on top of the parchment strip. Once the cheesecake was completely chilled, I carefully pulled them out by the parchment strips. This worked quite well. My only complaint is that the parchment strips prevented from a perfect circle shape for the cheesecake. Other than that, it's much more cost efficient to make mini cheesecakes Vs. buying mini springforms at Sur La Table for $5.95 each.

CHEESECAKE TIPS THAT CAN MAKE A DIFFERENCE:
To prevent cracking in the cheesecake bake it like creme brulee: Boil a medium pot of water. Protect the bottom of your cheesecake pan with two layers of aluminum foil. Then place in a larger square baking dish. Set the square baking dish on the oven rack slightly pulled out. Slowly pour your boiled water into the square baking dish until the water level is half way on the outside of the cheesecake pan. Then lightly place a piece of aluminum foil over the square pan and gently slide in your oven rack and close the oven door.
You can also avoid cracking by running a knife between the pan and the cake when you take it out of the oven. This loosens the cake from the edges so that it can shrink slightly as it cools without cracking and pulling from the sides.

How to cut a Cheesecake:
Dip a sharp knife into a tall glass of very hot water for a few seconds. Wipe the knife dry with a towel. Then make he first cut all the way down and out (pulling knife towards you. Repeat dipping the knife into hot water and wiping it frequently for every cut. This technique will result in very clean, crisp slices.

THE END!
I'll leave you with another Buddy portrait. :)